
How to Pave Your Garden for a Stunning Outdoor Space
Creating a beautifully paved garden can transform your outdoor area into a functional and stylish space. Whether you're planning a relaxing patio, a charming walkway, or a decorative driveway, the right materials and tools make all the difference. At Chadwicks.ie, we provide high-quality aggregates, paving solutions, and landscaping supplies to help you achieve professional results. Plus, our digger and dumper rental services make excavation and preparation easier than ever. Here's a step-by-step guide to paving your garden effectively.
Step 1: Plan Your Paving Project
Before you begin, carefully plan your garden layout. Decide on the shape, size, and style you want to achieve. Consider the following:
- What type of paving stones or slabs will best suit your design?
- How much space will you need for walkways, seating areas, or decorative features?
- Will you need drainage channels or other landscaping elements?
Step 2: Gather Your Materials and Tools
For a successful paving project, you'll need essential materials like:
- Aggregates for your sub-base
- Sand for levelling
- Cement for secure edging
- Your chosen paving stones or slabs
- Landscaping fabric to prevent weed growth
You'll also need tools such as:
- Shovel and rake
- Spirit level
- Rubber mallet
- Wheelbarrow
At Chadwicks, we offer a wide range of these supplies to ensure your project runs smoothly.
Step 3: Excavation and Preparation
This is where our digger and dumper rental services come in handy. Excavating your garden manually can be time-consuming and exhausting. By renting a digger and dumper from Chadwicks, you can efficiently clear the area and prepare the ground for paving.
- Mark out the area to be paved with string lines or spray paint.
- Dig to a depth of approximately 150-200mm to allow space for your sub-base and paving.
- Use a dumper to remove excess soil and debris, making cleanup much easier.
Step 4: Install the Sub-Base
A strong foundation is key to a long-lasting paved area. Spread a layer of aggregates across the excavated area and compact it thoroughly. This provides a solid and stable base that will prevent your paving from shifting over time. We recommend a 100mm layer of hardcore or MOT Type 1 for optimal stability.
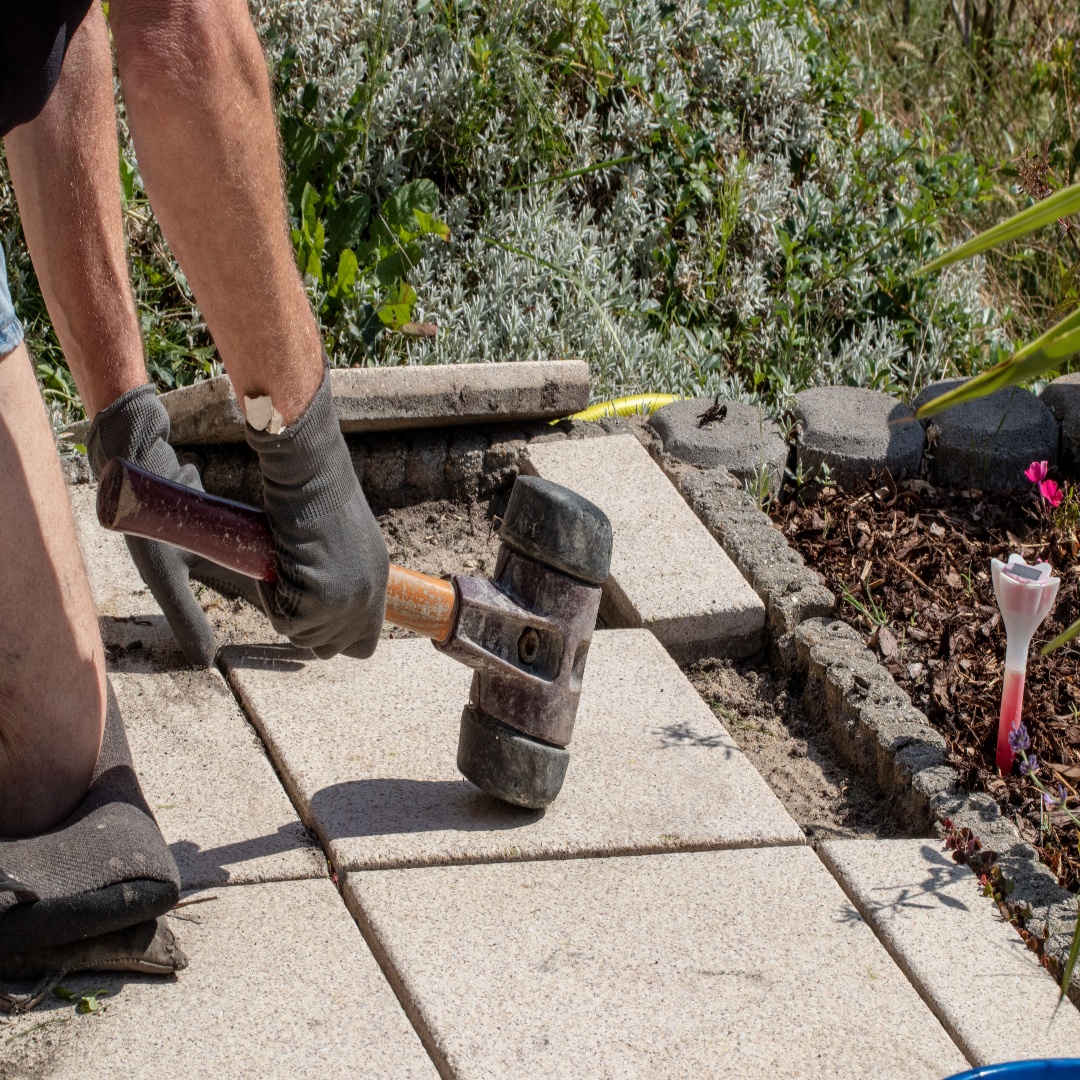
Step 5: Lay the Sand and Paving Stones
Next, spread a layer of sharp sand over the sub-base, raking it evenly to create a smooth surface. Begin laying your paving stones in your desired pattern, ensuring each one is level as you go. Use a rubber mallet to gently tap each stone into place.
Step 6: Add Finishing Touches
Once your paving is securely in place, fill the joints with fine sand or jointing compound to lock everything together. For enhanced durability, consider sealing the paving stones to protect against weather damage and staining.
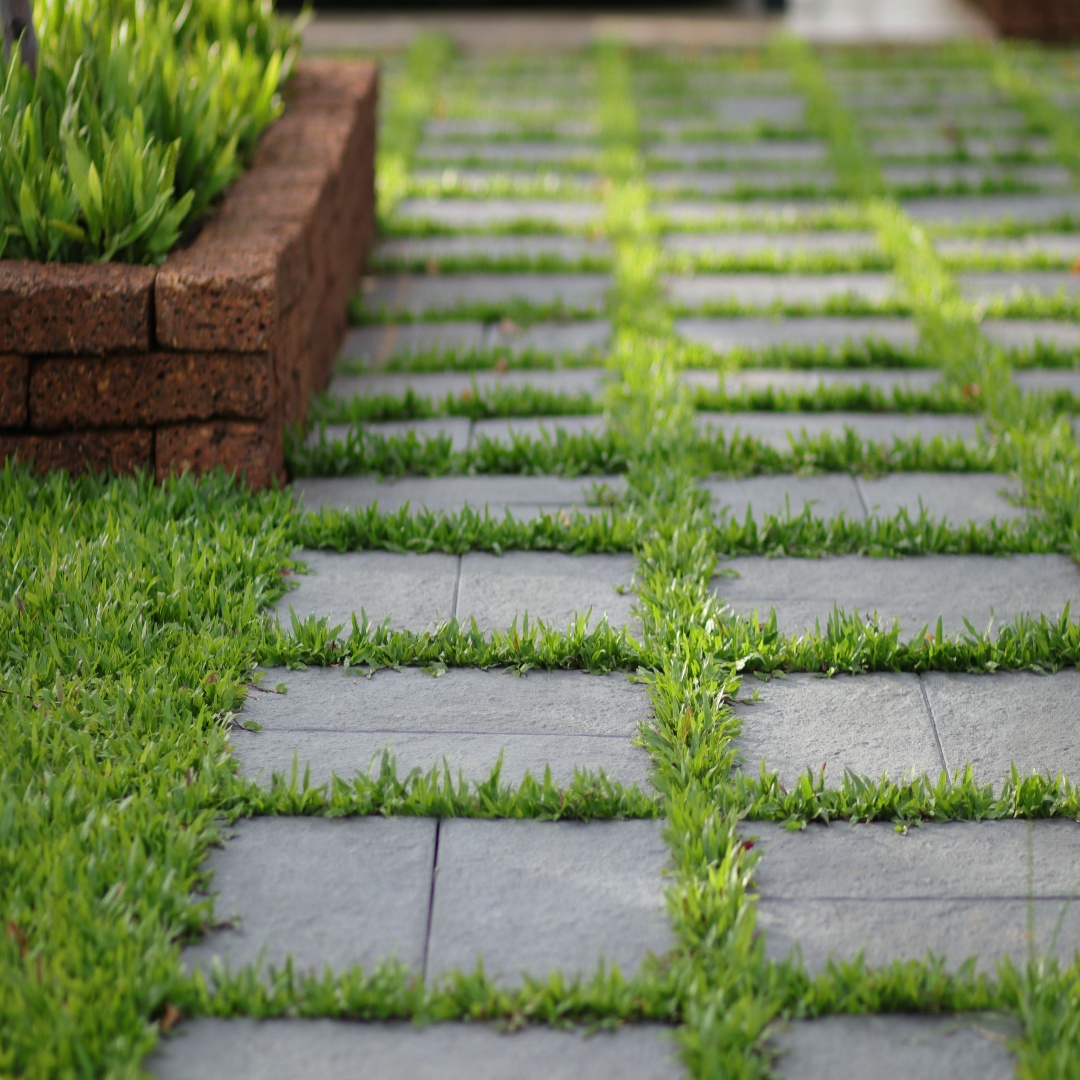
Step 7: Landscaping and Final Details
Complete your outdoor space with decorative elements such as gravel paths, garden beds, or lawn edging. Chadwicks offers a variety of landscaping supplies to help you achieve a polished look.
Why Choose Chadwicks for Your Garden Project?
- Extensive range of high-quality paving, aggregates, and landscaping materials
- Convenient digger and dumper rental services to streamline your project
- Expert advice from our knowledgeable team to guide you every step of the way
For all your garden paving and landscaping needs, visit Chadwicks.ie. Whether you're a seasoned landscaper or a DIY enthusiast, we have everything you need to create a stunning outdoor space. Start your project today with Chadwicks – your trusted partner in construction and home improvement.